Markdown is the minimalist's dream for text formatting—no fancy editors or HTML acrobatics needed. Just a few symbols like asterisks for bold or hashes for headings, and you're off to the races. It's the go-to for bloggers and devs alike, perfect for whipping up websites, blogs, docs, and more. This article itself is written in Markdown.
Born for the web, Markdown is the darling of platforms like GitHub, Stack Overflow, and Reddit. In this guide, we'll explore how to use Markdown in React applications using the react-markdown package.
Please note that this is a general tutorial that does not cover any aspect of the product hosting this article: Windmill. To see how Windmill offers alternatives for your React applications, refer to the last section.
Markdown basics
Let's dive into the essentials of Markdown syntax:
Headings
To create headings, use number signs (#). The more signs, the smaller the heading:
# Big Boss Heading
## Slightly Smaller Boss
### Middle Management
#### Team Lead
##### Senior Dev
###### Junior Dev
This will be rendered as:
Big Boss Heading
Slightly Smaller Boss
Middle Management
Team Lead
Senior Dev
Junior Dev
Remember to include a space between the hash and your text.
Lists
Markdown supports both ordered and unordered lists:
Ordered Lists:
1. Banana
2. Kiwi
This will be rendered as:
- Banana
- Kiwi
Unordered Lists:
- Banana
- Kiwi

* Banana
* Kiwi

+ Banana
+ Kiwi
This will be rendered as:
- Banana
- Kiwi
- Banana
- Kiwi
- Banana
- Kiwi
Links
Create links using square brackets for text and parentheses for the URL:
[Windmill](https://www.windmill.dev/)
This will be rendered as:
Images
Add images with an exclamation mark, alt text in brackets, and the path in parentheses:

This will be rendered as:
Typography
Style text using asterisks:
**Bold move**
*Italic flair*
This will be rendered as:
Bold move Italic flair
Understanding react-markdown
The react-markdown package transforms Markdown into React components that render as HTML in your app. Unlike other libraries that use dangerouslySetInnerHTML, react-markdown creates a syntax tree for a virtual DOM, making it both safer and more efficient.
Installation
First, ensure you have Node.js installed, then create a new React project:
npx create-react-app markdown-app
cd markdown-app
npm install react-markdown
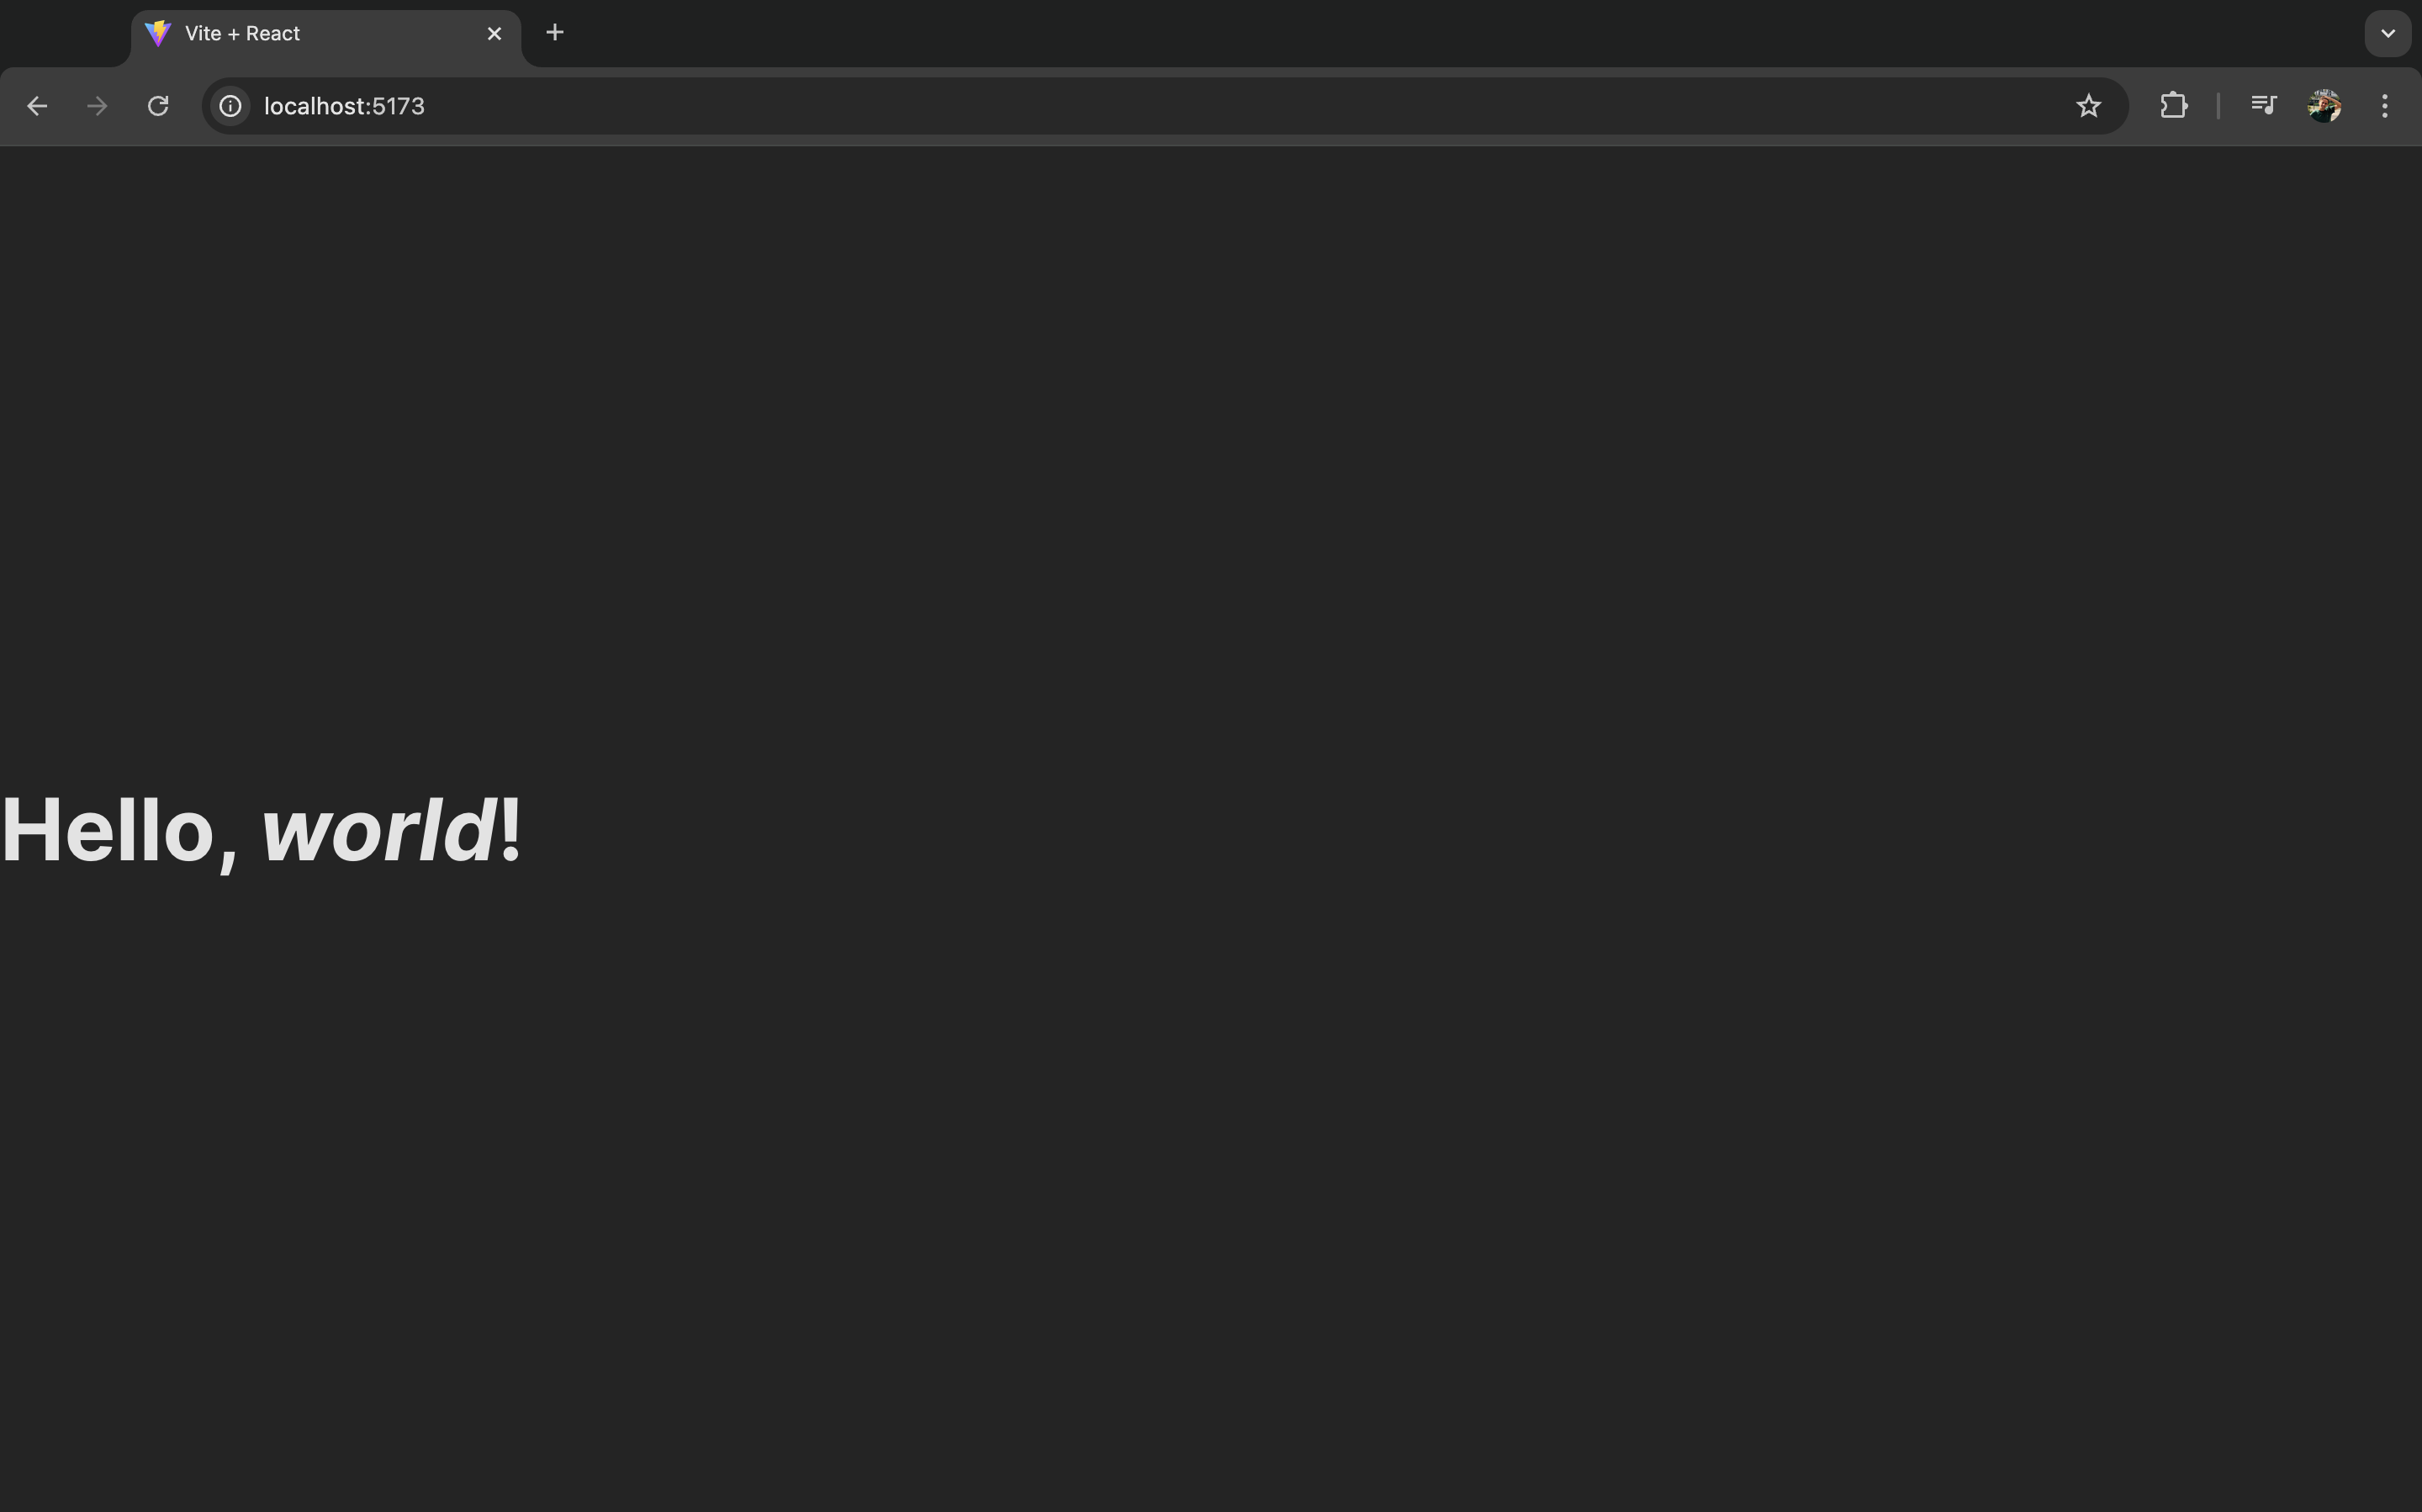
Basic implementation
Here's a simple example of using react-markdown:
import React from 'react'
import ReactMarkdown from 'react-markdown'

export default function App() {
  return (
    <div>
      <ReactMarkdown>
        # Hello, *world*!
      </ReactMarkdown>
    </div>
  )
}

Advanced features
Custom components
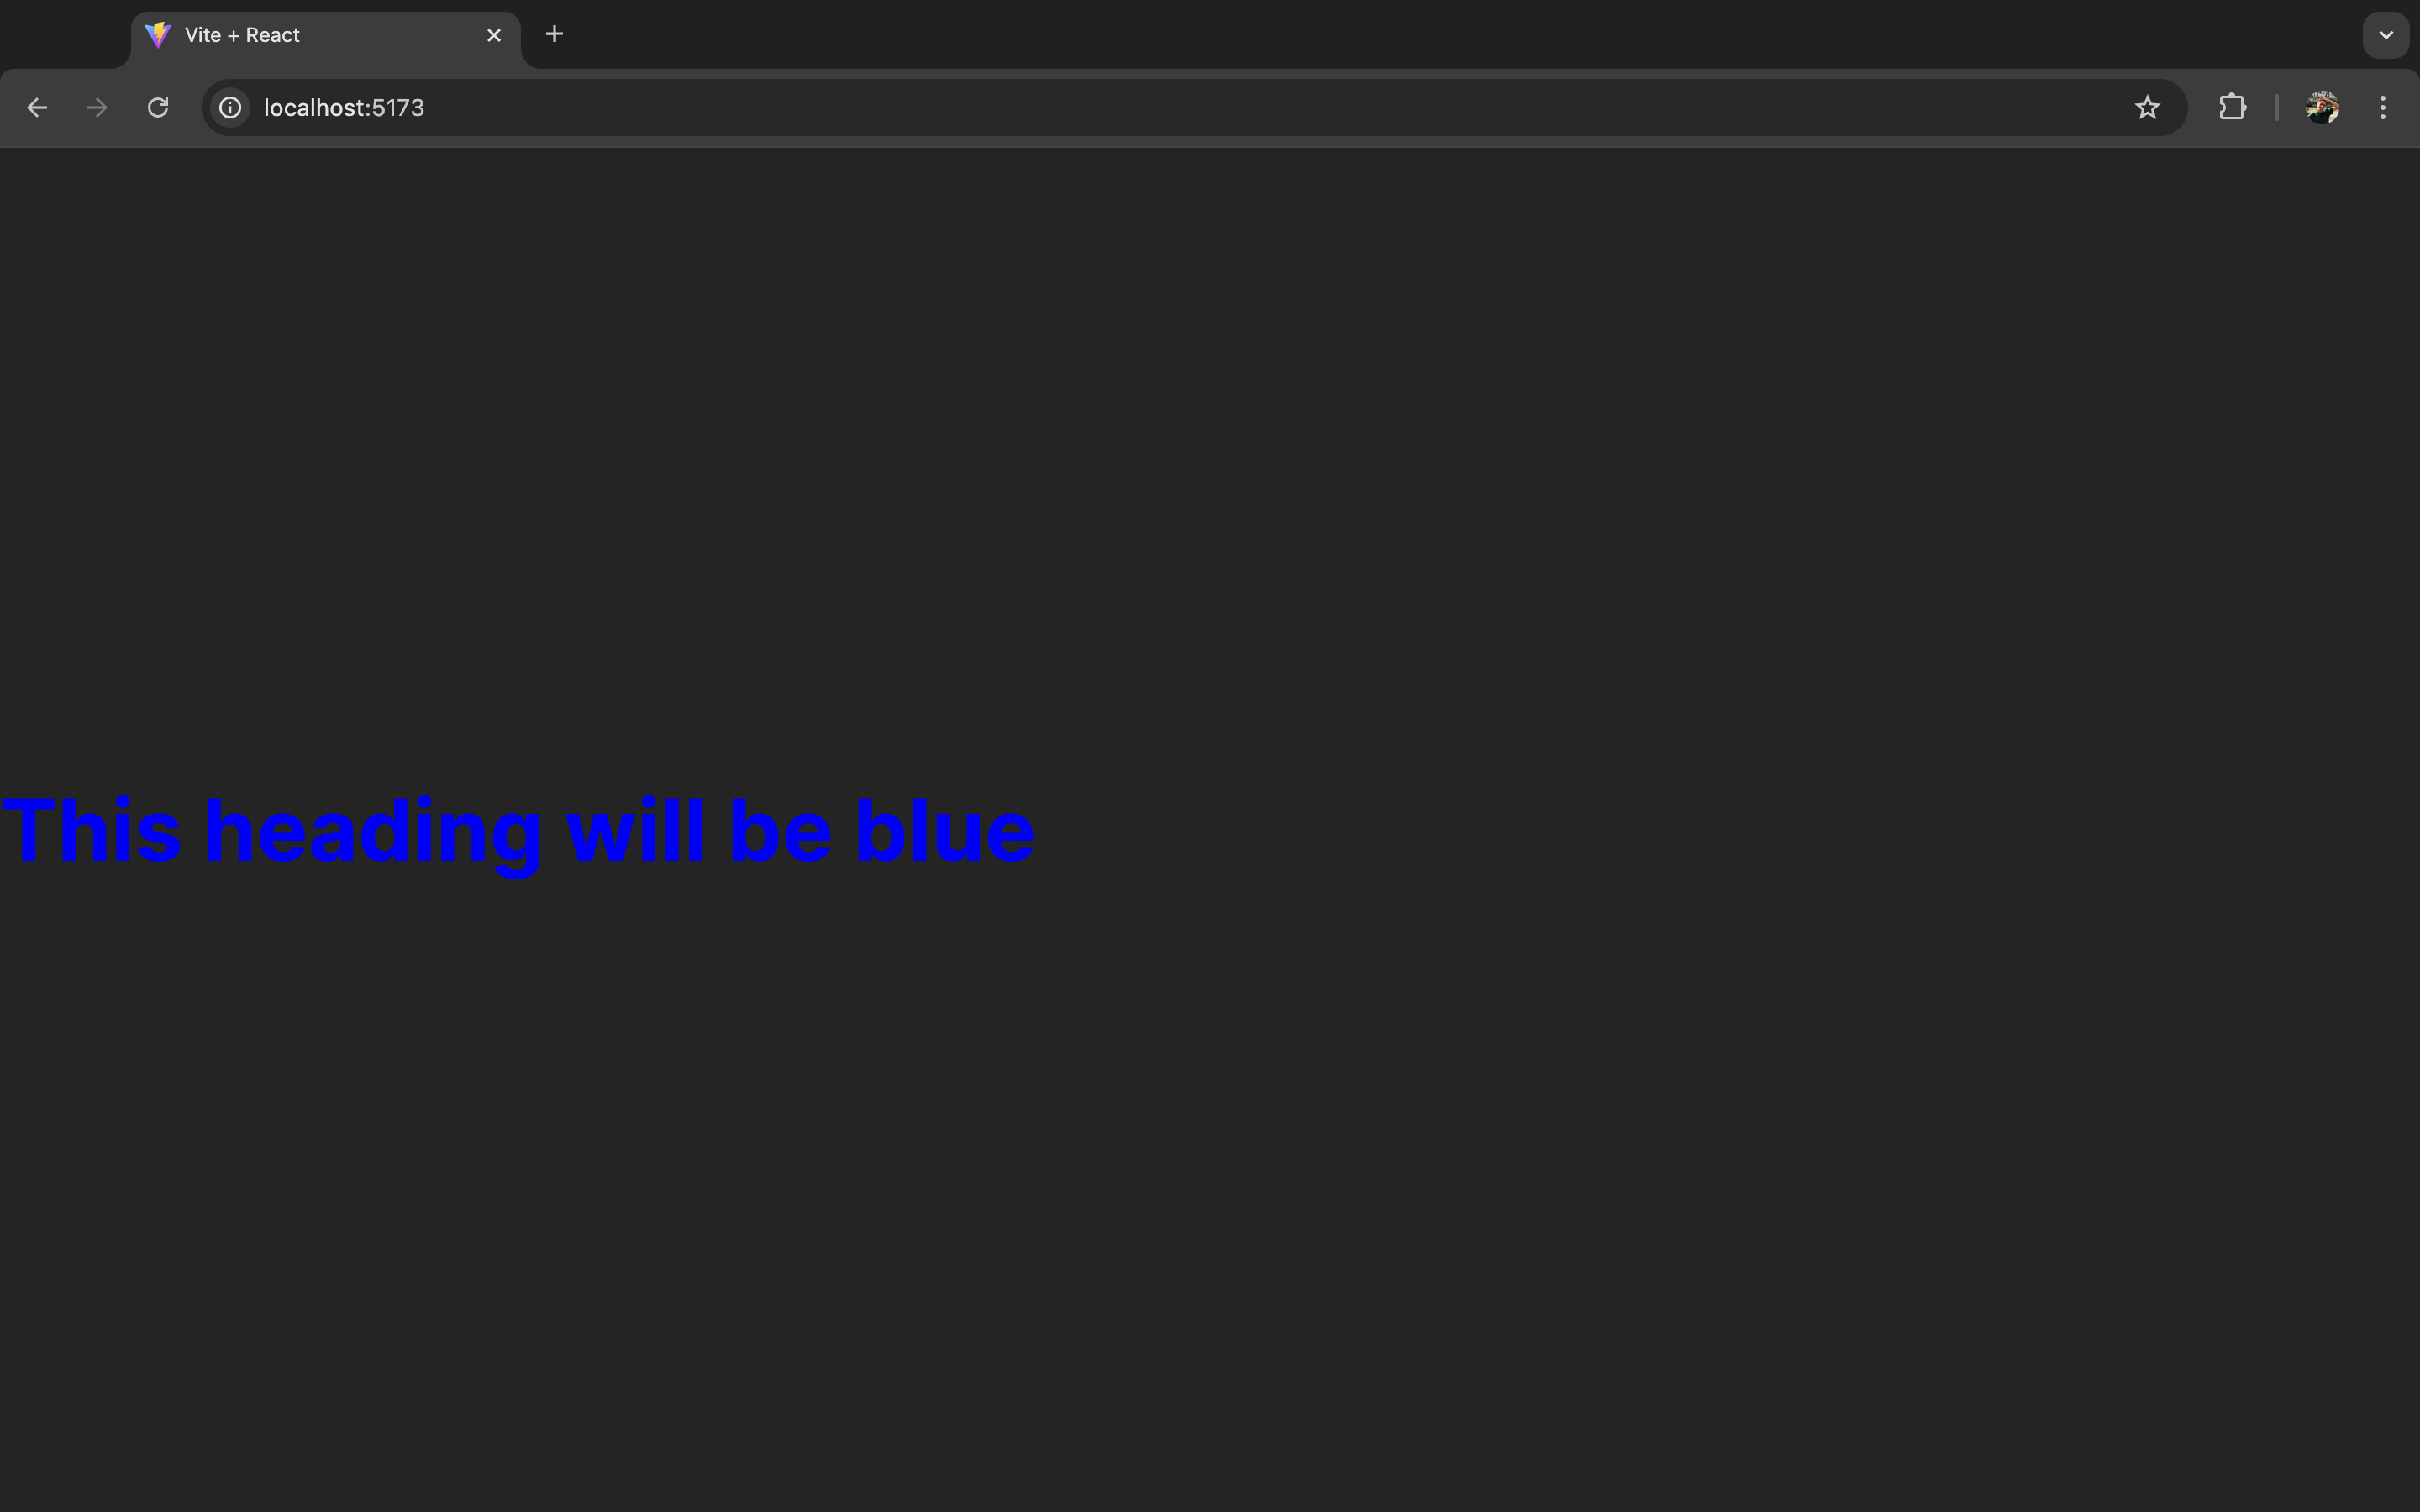
You can customize how specific Markdown elements are rendered using the components prop:
import React from 'react'
import ReactMarkdown from 'react-markdown'

const CustomH1 = ({node, ...props}) => (
  <h1 style={{color: 'blue'}} {...props} />
)

export default function App() {
  return (
    <div>
      <ReactMarkdown
        components={{
          h1: CustomH1
        }}
      >
        # This heading will be blue
      </ReactMarkdown>
    </div>
  )
}

Plugins and extensions
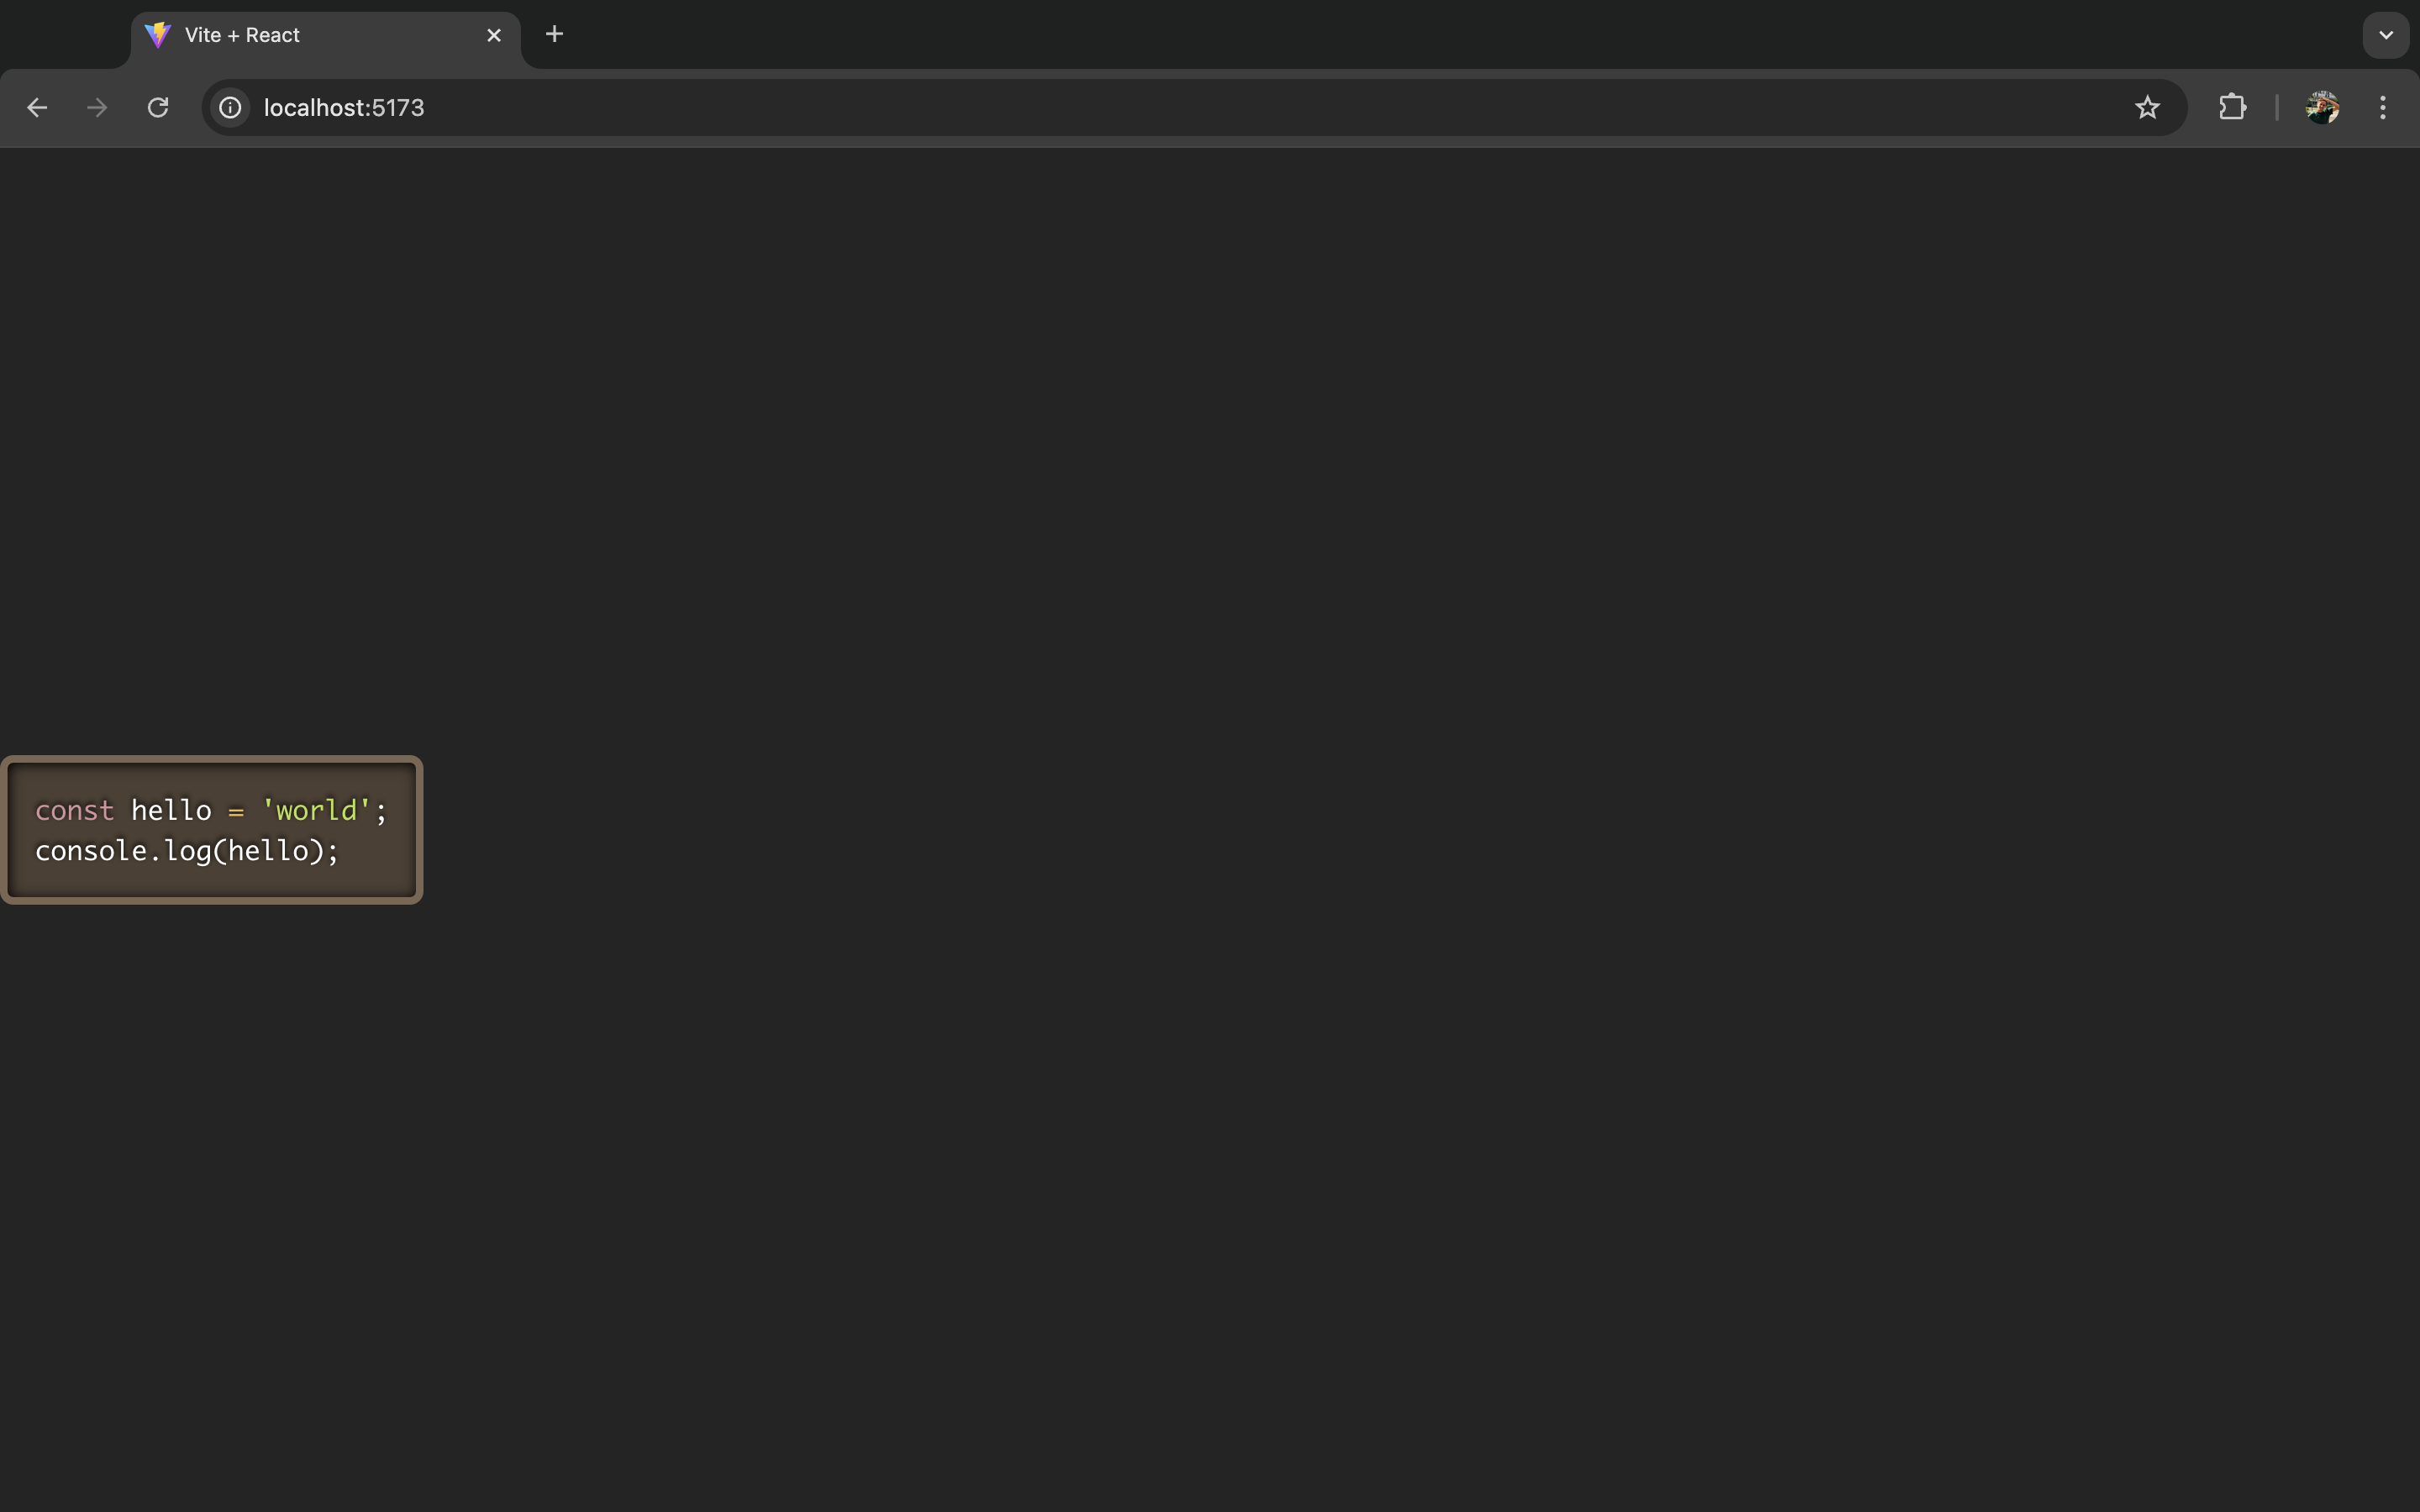
React Markdown supports various plugins through the unified ecosystem. Here's how to add syntax highlighting with react-syntax-highlighter:
npm install react-syntax-highlighter
Implementation example:
import React from 'react'
import ReactMarkdown from 'react-markdown'
import {Prism as SyntaxHighlighter} from 'react-syntax-highlighter'
import {dark} from 'react-syntax-highlighter/dist/esm/styles/prism'

export default function App() {
  const markdown = `\`\`\`javascript
const hello = 'world';
console.log(hello);
\`\`\``

  return (
    <ReactMarkdown
      components={{
        code({node, inline, className, children, ...props}) {
          const match = /language-(\w+)/.exec(className || '')
          return !inline && match ? (
            <SyntaxHighlighter
              style={dark}
              language={match[1]}
              PreTag="div"
              {...props}
            >
              {String(children).replace(/\n$/, '')}
            </SyntaxHighlighter>
          ) : (
            <code className={className} {...props}>
              {children}
            </code>
          )
        }
      }}
    >
      {markdown}
    </ReactMarkdown>
  )
}

Handling images and links
You can customize how images and links are rendered:
import React from 'react'
import ReactMarkdown from 'react-markdown'
export default function App() {
return (
<ReactMarkdown
components={{
img: ({node, ...props}) => (
<div style={{ textAlign: 'center', margin: '20px 0' }}>
<img
{...props}
style={{
maxWidth: '70%',
borderRadius: '8px',
boxShadow: '0 4px 8px rgba(0,0,0,0.1)',
transition: 'transform 0.2s',
cursor: 'pointer',
}}
onMouseOver={(e) => e.target.style.transform = 'scale(1.05)'}
onMouseOut={(e) => e.target.style.transform = 'scale(1)'}
loading="lazy"
onError={(e) => {
e.target.src = 'fallback-image-url.jpg'
e.target.alt = 'Failed to load image'
}}
/>
</div>
),
a: ({node, children, href, ...props}) => (
<a
href={href}
target="_blank"
rel="noopener noreferrer"
style={{
color: '#0066cc',
textDecoration: 'none',
borderBottom: '1px solid transparent',
transition: 'border-bottom-color 0.2s',
}}
onMouseOver={(e) => e.target.style.borderBottomColor = '#0066cc'}
onMouseOut={(e) => e.target.style.borderBottomColor = 'transparent'}
onClick={() => console.log(`Link clicked: ${href}`)}
{...props}
>
{children} ↗️
</a>
)
}}
>
# Handling images and links

[Visit Windmill](https://www.windmill.dev/)
</ReactMarkdown>
)
}
Build custom UIs with Windmill
This completes our guide on using React Markdown in your applications.
For teams looking to create content-rich applications, Windmill's App editor offers a compelling alternative to developing custom apps in React. While React requires coding Markdown implementations from scratch and managing complexities like component styling and rendering, Windmill simplifies these aspects.
The low-code App builder is designed to create custom User Interfaces by combining drag-and-drop functionality with code. It comes with +60 components that you can style and link to scripts and flows. We even have a ... Markdown component. Additionally, it supports the integration of custom React components and even entire React apps, providing flexibility for more advanced development needs.
This enables faster development with less overhead, making it a practical choice for projects where quick deployment and ease of maintenance are priorities.
You can self-host Windmill using a
docker compose up, or go with the cloud app.